
How to Set Up Approval Workflows in Topkey so Nothing Slips Through
Learn how to set up approval workflows in Topkey for bills, card transactions, transfers and owner payments so every payment gets the right sign-off.
- Product area
- Platform
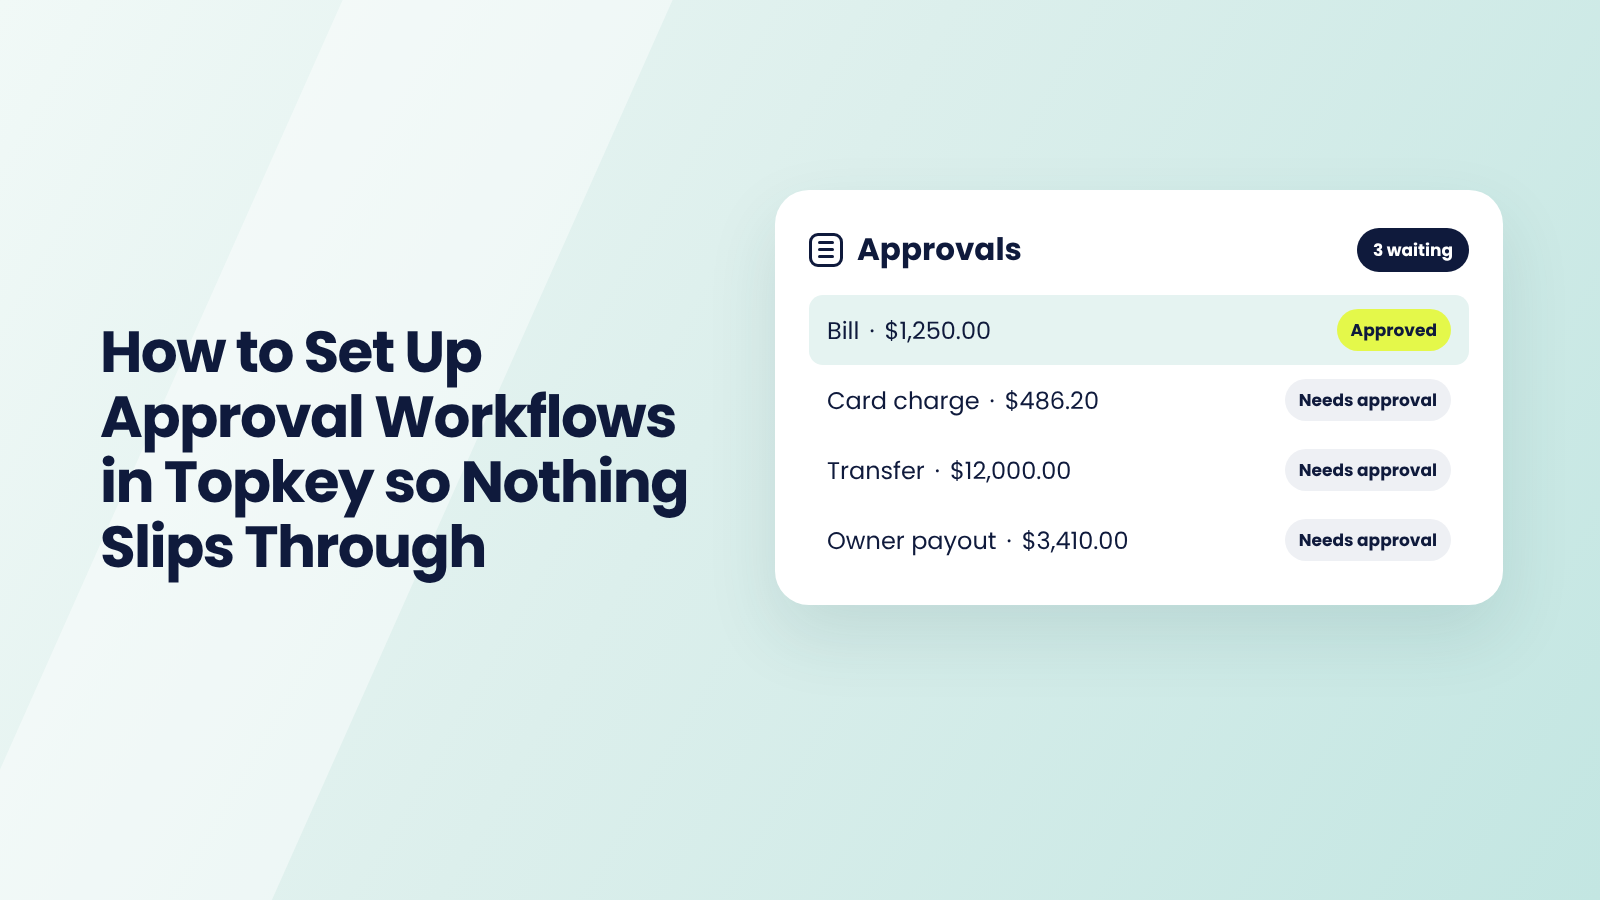
Every bill, card charge, transfer and owner payout should get a look from the right person. Topkey approval workflows make sure that happens seamlessly.
This guide shows how to set up approval workflows in each part of Topkey, using the practices Topkey's customer success team teaches short-term rental property managers. Watch the video to see how an approval workflow is built, and read the six rules that prevent the most common mistakes. Then set up approvals for every area, starting with the one that makes the most sense for your team. Once those are running, look for new approval workflows that fit how your team works.
Before you start: only an Admin can create or change approval workflows, and saving a change asks for a code sent to that Admin's email. Plan to have that Admin at the keyboard.
What Is an Approval Workflow?
An approval workflow sends an item to the right person for a sign-off before it moves forward. You choose which items need approval, by amount and by details like the property or vendor, and who signs off.
Topkey keeps a separate approval workflow for bills, card transactions, transfers and owner payments. For bills, transfers and owner payouts, approval happens before any money moves. A card charge has already happened by the time it reaches Topkey, so its approval decides what syncs to your accounting software, your PMS and your owner statements.
All four live on one page in Settings, called Approval Workflows, with a tab for each area.
How to Create an Approval Workflow
Every approval workflow in Topkey is built the same way, whether it covers bills, card charges, transfers or owner payments. You pick the area, decide which items need approval, choose who approves, and save. The video walks through it once, using the approval workflow we recommend building first: one that makes sure there is an approver for every bill, so nothing gets paid without a sign-off.
Prefer to read it? These are the same five steps for any approval workflow you build:
1) Pick the area.
Click here to open Approval Workflows in your signed-in Topkey account, or go to Settings, then Approval Workflows. Choose the tab for what you want approved: Bills, Cards, Transfers or Owner Payments.
2) Decide what needs approval.
Add a rule and give it an amount range. A range starting at $0 covers everything in that area. Add conditions, like a property or a vendor, only when the rule should cover some items and not others.
3) Choose who approves.
Under Request approval from, pick your approvers, then choose anyone (one sign-off is enough) or everyone (all of them must sign off). Click Add another approval step if you want a second round.
4) Decide what syncs before it's approved.
On the Bills and Cards tabs, Workflow settings let you keep items from syncing to your accounting software until they're approved.
5) Save the approval workflow.
Click Save. Topkey then sends a verification code to your email, and you enter it to finish saving. That extra check is there because approval workflows decide who can sign off on money leaving your accounts, so only someone with access to your email can change them. Once it's saved, the rule shows on the tab, and new items that match it start waiting for approval. You can come back to the same tab anytime to edit a rule, change approvers, or drag rules into a different order.
Once it's live: every new item it covers waits for a sign-off before it moves forward. Approvers get an email that links straight to the item, and everything waiting on them shows up on the Approvals page under Spend. The exact settings for each area, starting with the every-bill workflow from the video, are in Set Up Approvals for Each Area below.
Six Rules for Every Approval Workflow
You've seen how an approval workflow is built. These six rules prevent the most common mistakes, so read them before you set up your area below.
1. Assigning a Bill Isn't Approving It
The Assignee on a bill only lets that person see it. It doesn't send the bill for approval.
Why it matters: without an approval workflow, a submitted bill goes straight to Ready to Pay, even with someone assigned to it.
Do this: build an approval workflow for every area you want checked. Admins can't approve an item unless a rule names them.
2. Keep One Catch-All Rule at the Bottom
A catch-all rule covers any amount, with no conditions.
Why it matters: an item that matches no rule never reaches an approver. A bill or owner payment goes straight to Ready to Pay. A card charge waits in Not Reviewed, or Further Review if someone submits it by hand, and stays out of your accounting software if you block unapproved charges from syncing.
Do this: make your last rule $0 to $999,999.99 with no conditions, and name a backup approver.
3. Put Specific Rules on Top
Topkey checks your rules from the top down and uses only the first one that matches.
Why it matters: a broad rule at the top catches everything, and the specific rules under it never run.
Do this: order rules from most specific to least specific, with the catch-all last. If you can edit the workflow, drag a rule to move it.
4. Approve Before It Syncs
Unless you turn this on, a bill or card charge can sync before anyone approves it.
Why it matters: a half-coded bill can land in your accounting software, or an unchecked charge can reach your PMS and an owner statement.
Do this: in Bills, turn on Require bills to be approved before syncing to accounting integrations. Card transactions have two settings of their own, covered in card setup 4.
Once it's on, an unapproved bill is skipped in the daily sync and picked up after it's approved. A rejected bill stays out of the sync.
If Sync unpaid bills to [your accounting platform] is on (for example, Sync unpaid bills to QuickBooks Online), a bill can sync before it's paid, which is how draft and half-coded bills end up in your accounting software. Approval before syncing keeps them out until someone signs off.
5. Changes Only Apply Going Forward
A new or changed approval workflow doesn't reroute items already waiting.
Why it matters: older items keep their old routing, so they can look stuck or skip your new approver.
Do this: after you change an approval workflow, resubmit anything already in progress. For a large backlog, ask your CSM.
6. Separate Who Starts It from Who Approves It
The person who enters a bill, starts a transfer or requests a payout shouldn't approve it.
Why it matters: when one person does both, no one else checks the payment. That's how a fake invoice or a wrong payout gets out.
Do this: keep whoever enters or requests an item off its approver list. Give approval to someone who controls the release of funds.
Set Up Approvals for Each Area
Start with the area that makes the most sense for your team, work through its setups from the top, then move on to the next. Each one gives you a solid starting point to build on as you learn what your team needs.
- Bill approvals for AP teams and bookkeepers who pay vendor invoices.
- Card transaction approvals for admins and finance leads who review corporate card spend.
- Transfer approvals for finance leads who move money between accounts.
- Owner payment approvals for teams that pay owners through Topkey.
Bill Approvals to Start with
Bills are where approval stops money before it leaves. Work through these from the top in Bill Pay. For why bill approvals matter as you grow, read how vacation rental property managers use approval workflows to pay bills.
1) Require Approval on Every Bill Before It's Paid
Start here. Without an approval workflow, a submitted bill goes straight to Ready to Pay. This approval workflow closes that gap and becomes the catch-all at the bottom of your Bills tab.
How to set it up:
- Open the Bills tab in Approval Workflows and add a rule.
- Set If amount is greater or equal to $0 and less than $999,999.99.
- Under Request approval from, choose anyone and pick two approvers, such as your operations lead and your finance lead.
- Leave the conditions empty, save, and enter the code sent to your email.
- Under Workflow settings, turn on Lock records after approval and Require bills to be approved before syncing to accounting integrations.
Once it's live: every new bill waits in Needs Approval until one of your two approvers signs off. An approved bill can't be edited before it's paid, and no unapproved bill reaches your accounting software.
2) Require Two Approvals on Large Bills
Big bills deserve more than one set of eyes. This approval workflow sends bills over an amount you choose to two people, and both have to approve.
How to set it up:
- Open the Bills tab in Approval Workflows and add a rule.
- Set If amount is greater or equal to your large-bill amount, such as $5,000, and less than $999,999.99.
- Under Request approval from, choose everyone and pick both people, such as your operations lead and your finance lead. If the second person should only approve after the first, pick one person here, then click Add another approval step and pick the second.
- Save, enter the code sent to your email, and drag this rule above your catch-all.
Once it's live: bills at or above that amount wait until both people approve. Smaller bills keep following your catch-all rule.
3) Route Bills to the Property Manager Who Knows the Home
The person who manages a property knows whether the work was actually done. This approval workflow sends each property group's bills to its manager.
How to set it up:
- Open the Bills tab in Approval Workflows and add a rule.
- Set If amount is greater or equal to $0 and less than $999,999.99.
- Under Optional Conditions, choose Property Groups and pick one group, such as your north market.
- Under Request approval from, choose anyone and pick that group's property manager.
- Save, enter the code sent to your email, and drag the rule below your large-bill rule and above your catch-all. Repeat for each property group.
Once it's live: each property manager gets an email for their group's bills and can approve or comment with an @mention. A bill split across groups goes to each group's manager, and large bills still get both approvals because that rule sits higher.
4) Decide Which Bills Skip Approval on Purpose
Two kinds of bills can skip approval: bills created from work orders, and bills created from a recurring bill template. That's useful when someone already checks those bills somewhere else, and risky when nobody does.
How to set it up:
- Open the Bills tab in Approval Workflows.
- Under Workflow settings, find Skip approval for bills created from Work Orders.
- Turn it on only if work order bills are already reviewed before they reach Topkey. Otherwise, leave it off.
- Save and enter the code sent to your email.
- For recurring bills, open the recurring bill and find Skip the approval process on these recurring bills. Leave it off unless the bill is the same amount every time. When it's off, each new bill from the template follows your bill approval workflows like any other bill.
Once it's live: with the setting on, bills created from work orders go straight to Ready to Pay. With it off, they follow your bill approval workflows like every other bill.
Card Transaction Approvals to Start with
Here, approval decides which charges reach your books, your PMS and your owner statements. Set it up in expense management to catch the charges that matter and let routine ones through.
1) Approve Only Charges Above a Dollar Amount
Asking for approval on every swipe buries your approvers, and they stop looking closely. This approval workflow sends only the larger charges for review.
How to set it up:
- Open the Cards tab in Approval Workflows and add a rule.
- Set If amount is greater or equal to your threshold, such as $500, and less than $999,999.99.
- Under Request approval from, choose anyone and pick two approvers.
- Save and enter the code sent to your email.
- If you'll also block unapproved charges from syncing (setup 4), add a catch-all rule below this one for smaller charges, approved by a manager. Otherwise, charges under your threshold won't sync.
Once it's live: charges over your threshold go to an approver, and routine charges stay out of the queue. After a month, raise or lower the amount based on how full the queue gets.
2) Send Charges for Approval Automatically
Cardholders already add the receipt, property and memo by text when they buy something. This setting sends the charge to its approver as soon as those details are in, so nothing waits on someone clicking Submit.
How to set it up:
- Open the Cards tab in Approval Workflows.
- Turn on Automatically Request Approval.
- Save and enter the code sent to your email.
Once it's live: a charge reaches its approver the moment the cardholder finishes the text, so approvals happen while the purchase is fresh instead of at month-end.
3) Let Managers Approve Their Own Team
For teams with managers, everyday charges can go to the person who runs the team, and larger ones go up to finance.
How to set it up:
- Create a card group with the team's members and their corporate cards.
- Give the manager the Group Manager role under Transactions, so they can see their team's charges.
- Open the Cards tab in Approval Workflows and add a rule.
- Under Optional Conditions, choose that card group, and set the amount from $0 up to your finance threshold.
- Under Request approval from, choose the team's manager.
- Save, enter the code sent to your email, and drag the rule above your company-wide rule.
Once it's live: each manager approves their own team's everyday charges, and only the larger charges reach finance.
4) Keep Unapproved Charges Off Owner Statements
A charge that syncs before anyone checks it can land in your books and on an owner statement. These two settings hold unapproved charges back.
How to set it up:
- Open the Cards tab in Approval Workflows.
- Turn on Require all transactions to be approved or rejected before syncing to accounting integrations.
- Turn on Require all transactions to be approved before syncing work orders to the PMS integration.
- Save and enter the code sent to your email.
Once it's live: unapproved charges stay out of your accounting sync, though rejected charges can still sync. A work order won't sync to your PMS while a charge linked to it is unapproved, which keeps an unchecked purchase off an owner statement.
Transfer Approvals to Start with
Moving money between your accounts, like from trust to operating, is the transfer you most want a second person to see.
1) Require Sign-Off on Every Transfer
Every transfer between your accounts should get a second look before money moves. This approval workflow sends each one to an approver first.
How to set it up:
- Open the Transfers tab in Approval Workflows and add a rule.
- Set If amount is greater or equal to $0 and less than $999,999.99.
- Under Request approval from, choose anyone and pick two approvers who don't start transfers themselves.
- Save and enter the code sent to your email.
Once it's live: each new transfer waits for one of your approvers before it's sent, and every decision is logged with who approved it and when.
2) Limit Who Can Start a Transfer
Approvals check a transfer, and roles decide who can start one. The fewer people who can start a transfer, the fewer there are to check and the lower the risk.
How to set it up:
- In Settings, open your team's roles and permissions.
- Review which roles can create transfers.
- Turn the transfer permission off for any role that doesn't need it, and save.
Once it's live: only the people who need to move money can start a transfer, and every transfer they start still goes through your transfer approval workflow.
Owner Payment Approvals to Start with
If you pay owners with owner payment requests, a quick review before payouts go out catches a wrong amount before an owner does. These approval workflows are built like the bill ones: an amount range and one or more approval steps.
1) Require Approval on Every Owner Payout
A wrong payout is the payment owners notice first. This approval workflow sends every owner payment request to an approver before it can be paid.
How to set it up:
- Open the Owner Payments tab in Approval Workflows and add a rule.
- Set If amount is greater or equal to $0 and less than $999,999.99.
- Under Request approval from, choose anyone and pick two approvers who don't create payout requests themselves.
- Save and enter the code sent to your email.
Once it's live: each payout request waits for approval before it can be paid. Approvers see the owner, amount, memo, property and GL code before they decide, and a declined request goes back to the requester to fix. Payouts sent with Pay Owners in RevHub don't go through this workflow.
2) Require Two Approvals on Large Payouts
Large payouts get a second approver before they go out, one after the other.
How to set it up:
- Open the Owner Payments tab in Approval Workflows and add a rule.
- Set If amount is greater or equal to your large-payout amount, such as $10,000, and less than $999,999.99.
- Under Request approval from, pick your first approver.
- Click Add another approval step and pick your second approver.
- Save, enter the code sent to your email, and drag the rule above your catch-all.
Once it's live: payouts at or above that amount need both approvals, in order, before they can be paid. Smaller payouts follow your catch-all rule.
Spot Your Next Approval Workflow
The setups above cover the most common cases. Your next approval workflow will come from patterns in your own approval queue. Look for these moments.
Approving the same $30 supply run every week? Raise the dollar amount on your card approval workflow so routine charges skip the queue, and keep approval for the charges that matter.
Approving everything yourself? Add a second approver and choose anyone, so either of you can sign off. For card spend, let managers approve their own team's charges with a card group.
Seeing items in Ready to Pay or Not Reviewed that nobody checked? They didn't match any rule. Add a catch-all rule at the bottom of that workflow.
One vendor or property keeps raising questions? Add an approval workflow with a vendor or property condition above your catch-all, and send those bills to the person who knows that vendor or home.
A large bill went out with only one sign-off? Add an approval workflow for your large-bill amount and choose everyone, or add a second approval step.
Finding half-coded bills or unchecked charges in your accounting software? Turn on the approval-before-sync settings for that area.
Moving money between accounts with no second look? Set up a transfer approval workflow so someone else sees every transfer before it's sent.
Start with the pattern that cost your team the most time or money last month.
Approval Workflows for Teams of Every Size
Approval workflows aren't just for large companies. Every team that pays bills, issues cards or pays owners should use them. What changes with size is the problem they solve.
Smaller Teams
On a small team, the person who enters a bill is often the person who pays it. An approval workflow adds a second set of eyes without adding headcount, so a typo or a duplicate invoice gets caught before money moves. Pick two approvers and choose anyone, so payments keep moving when one of you is out.
Larger Teams
As your team grows, more people enter bills, swipe cards and request payouts, and no one person can see it all. Approval workflows send each item to the person who knows it best, like the property manager for that home or the manager of that card group, and keep large amounts with finance.
Keep Your Approvals Working
When someone leaves or changes roles, take them off every approver list that day, so nothing waits on them. When your team or thresholds change, update your approval workflows the same day.
If you're replacing your bill rules, add the new rule before deleting the old one. Removing every bill rule sends bills waiting for approval back to Draft.
When an approver declines, a bill goes back to Draft and an owner payment goes back to the requester, so either can be fixed and resubmitted. A declined card charge is marked Rejected. If something only needs a fix, leave a comment and @mention the person instead, and the item stays where it is.
To watch your queue, save views like Approved Bills to Sync and Billable to Owner, Not Approved from our custom views guide.
What Topkey Customers Say About Approval Workflows
Vacation rental property managers use approval workflows to hand off the busywork and keep the final sign-off.
Ramin Roudi, Founder and CEO at Sway VRM, manages 48 units on Streamline and uses approval workflows to delegate without losing control. "With approval workflows, my VA does all the categorization, and then I come through and do an approval. Once I approve, the expenses can be pushed to QuickBooks or to the owner statements in Streamline."
Joshua Gilbert, Founder and CEO at APEK Rentals, runs 70 units on Guesty and handed accounting off to his team once he could check their work. "With Topkey, there's only one way to do it. You enter all the information, you send it over, and I'm able to verify whether it was done correctly. I actually trust that it's getting done right."
Start Using Approval Workflows Today
Start with one approval workflow that covers every bill and turn on approval before syncing. Next week, add a card approval workflow for charges over your threshold. Your queue will shrink to the items that need a second look.
Want help mapping your approvers? Reach out to your CSM. They can review your workflows with you and help your team get set up.
Approval Workflows FAQ
What Can You Require Approval for in Topkey?
Bills, card transactions, transfers and owner payments. All four are managed from one Approval Workflows page in Settings, so your team sets up and adjusts every approval in the same place instead of across separate tools.
How Do Approvers Sign Off?
Approvers get an email that links straight to the item, and everything waiting on them is listed on the Approvals page. They can approve, decline, or leave a comment and @mention a teammate when something just needs a fix.
Can Topkey Route Approvals by Property, Vendor or Team?
Yes. Send a property group's bills to the manager who knows those homes, send a vendor's bills to the person who manages that vendor, and let team managers approve their own team's card spend. Larger amounts can go to finance, with two approvers or approval steps in order.
Does Topkey Keep Unapproved Items Out of Your Accounting Software?
Yes. Turn on approval before syncing, and unapproved bills and card charges stay out of QuickBooks Online, Xero, Oracle NetSuite and Sage Intacct until someone signs off. Approved bills can also be locked, so nothing changes before they're paid.
How Do Approvals Protect Owner Statements?
Topkey can hold a work order back from your PMS while a linked card charge is unapproved, so an unchecked purchase doesn't land on an owner statement. This works with Guesty, Track, Streamline, Hostaway, OwnerRez and other PMS connections.
Is There a Record of Who Approved What?
Yes. Every approval decision is logged with who made it and when, and changing an approval workflow requires a verification code sent to an Admin's email.