
How to Reimburse Employee Expenses and Mileage in Topkey
Staff paying out of pocket or logging mileage? See how property managers collect expenses in Topkey, approve them and pay employees back by ACH.
- Published
- Product area
- Expenses
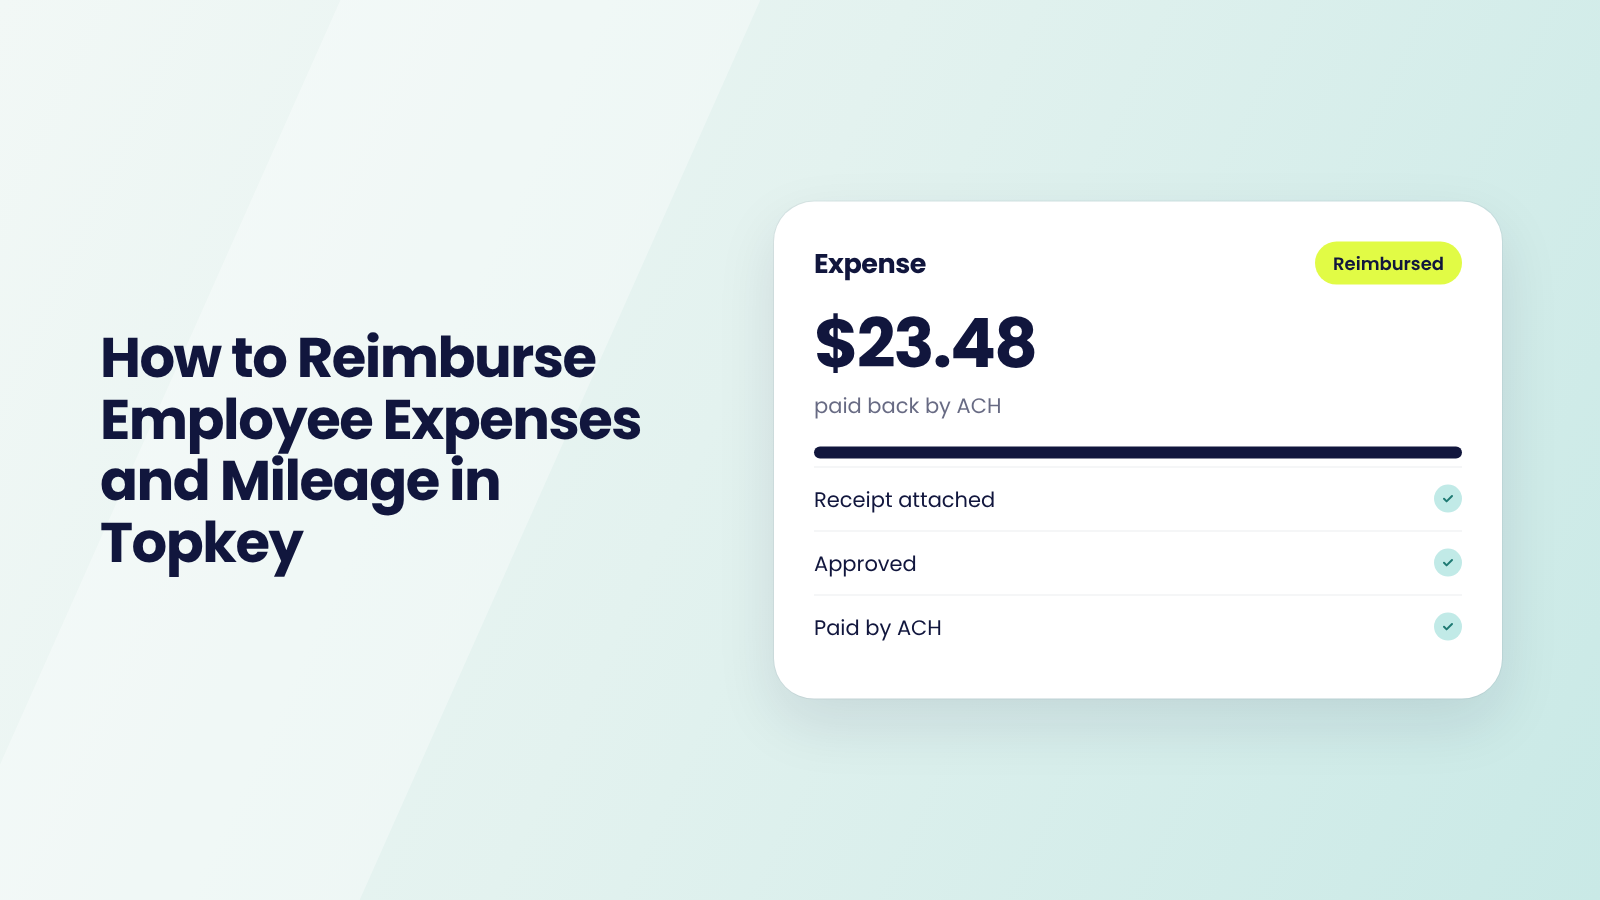
Paid Out of Pocket, Paid Back Late
A cleaner runs short on paper towels mid-turnover and buys them on her own card. A manager drives between three homes to check on a leak. The receipts sit in a text thread, the miles in somebody's notes app, and once a month someone writes a check and hopes the numbers are right.
Your company cards are already in Topkey. Out-of-pocket spend is the part still living on the side. Topkey's expenses feature brings it in. Employees submit, a manager approves and the money goes back to them by ACH. Setup takes a few settings. After that, your team does the rest.
How Reimbursements Work in Topkey
In Topkey, reimbursements live under Spend. Employees use My Expenses to submit. Managers use Review Expenses to approve and pay.
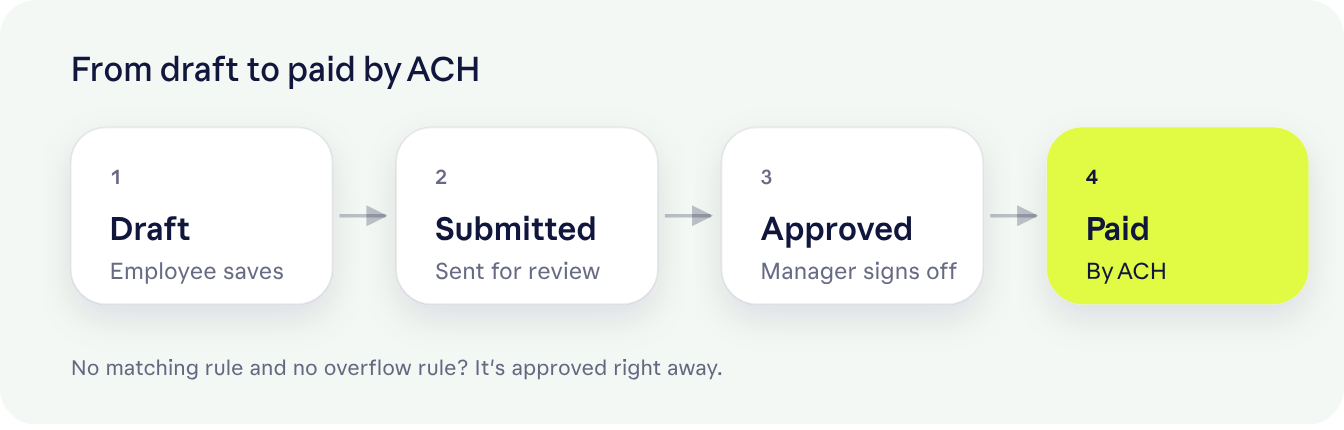
Every expense moves the same way. It starts as a draft, then it's submitted, approved and paid. Each one keeps its receipt, its approver and its payment together, so nobody has to rebuild the story at month-end.
Set It Up for Your Team
Give Staff a Role That Can Submit
The standard Cardholder role can't see My Expenses, so start here.
- Go to Settings → Team & Access → Manage Users and click the person's row.
- Change Roles to Employee.
- Click Update User.
If they carry a company card, it keeps working. Their card, their transaction texts and coding their own charges all stay the same.
If you use custom roles, give the role the expenses permission under Settings → Team & Access → Roles & Permissions instead.
To see everyone's role and whether they've added a bank account, open Reports → Reimbursement Setup.
Choose What Every Expense Needs
Decide up front what an expense must include, so you're not chasing details later.
Go to Settings → Approvals & Submission → Expense Submission Rules. Each rule is off until you turn it on.
- Ask for receipt if expense is more than. Set the amount, then choose Block request to stop the expense without a receipt, or Allow request with warning to let it through with a flag.
- Ask for a memo above an amount.
- Set how soon an expense must be submitted.
If your team doesn't need some fields, go to Settings → Transactions & Expenses → Expense Settings and, under Personal expense fields, check Hide Accounting Category or Hide Property.
Turn On Mileage and Set Your Rate
Mileage is off until you turn it on. Go to Settings → Transactions & Expenses → Expense Settings.
- Under Expense Types, check Mileage expenses enabled.
- Under Mileage Configuration, enter your Rate per mile.
There's no preset rate, so enter the one your company pays.
Decide Who Approves
Go to Settings → Approvals & Submission → Approval Workflows and open the Expenses tab.
- Each numbered rule covers an amount range and lists approvers in order.
- The overflow rule sits in a bar at the bottom of the tab. It sends anything your numbered rules don't match to the approvers you pick.
Without an overflow rule, an expense that doesn't match any numbered rule skips approval.
To let small expenses skip approval, start your first rule at $5. Anything under $5 matches no rule and goes straight through, as long as there's no overflow rule.
Expenses don't have amount exemptions, so an overflow rule sends small expenses to its approvers too. Our approval workflows guide shows how to build the rules.
Turn On AutoPay
Go to Settings → Transactions & Expenses → Expense Settings → Reimbursement.
- Choose the Default account to issue reimbursements from.
- Turn on Auto-pay approved expenses every day.
Approved expenses are then paid once a day, without anyone paying them by hand.
Get Paid Back as an Employee
Add Your Bank Account First
Click Add Bank Account on the banner at the top of My Expenses, or go to Settings → Reimbursement Account. Fill in four fields, then click Save Changes.
- The name on the account.
- The account type, Checking or Savings.
- Your routing number.
- Your account number.
Without a bank account, your company has to pay you back another way, like a mailed check.
Add an Expense
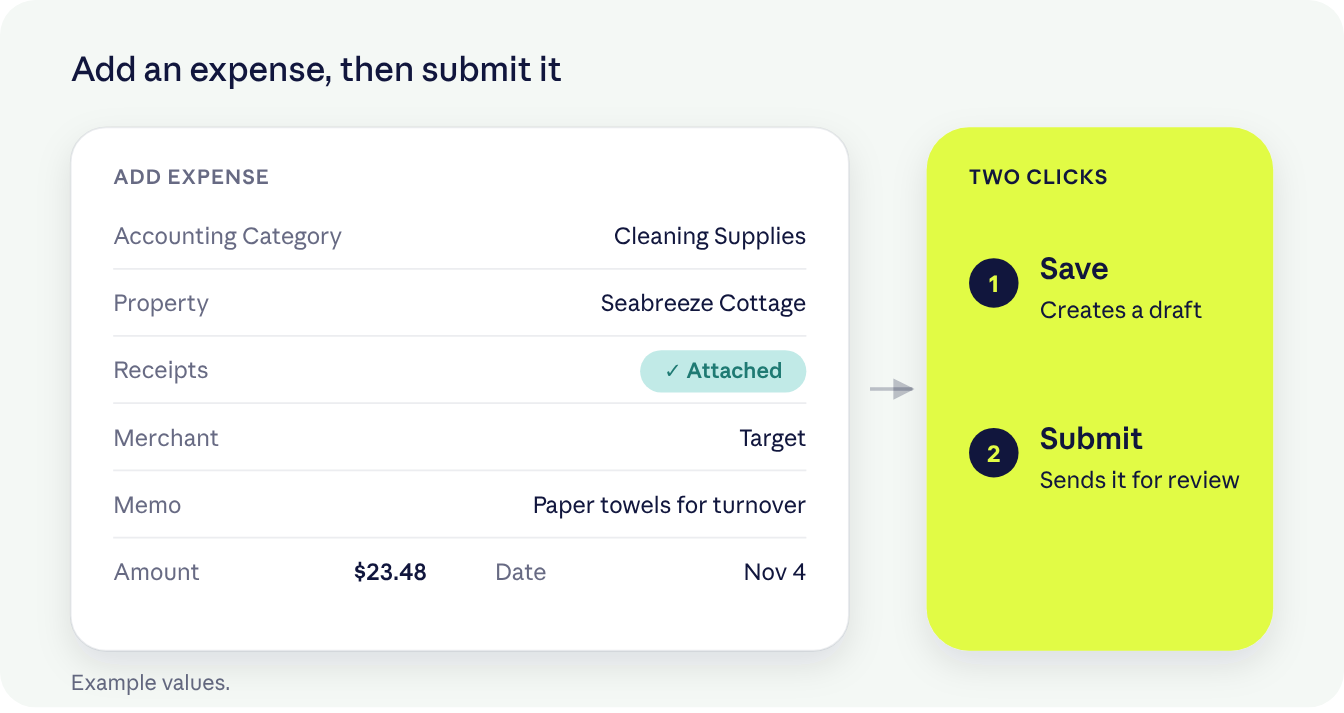
Go to Spend → My Expenses and click New Expense. Drop in a photo or PDF of the receipt and Topkey fills in the details for you to check, or click Fill in by hand. The form asks for these fields.
- Accounting Category.
- Property.
- Receipts. Add a photo or file, and use Add another receipt if there's more than one.
- Merchant.
- Memo.
- Amount (required).
- Date (required).
Your company may hide Accounting Category or Property if it doesn't need them.
Log Mileage
- Click New Expense and choose Mileage.
- Enter your Starting Location and Destination.
- Check Roundtrip if you drove back.
Topkey works out the driving miles with Google Maps and multiplies them by your company's rate.
Morgan Buss, Operations Manager at Luxury Properties Jackson Hole (66 units on Track), says it's made a real difference. "We cover a huge area, so mileage adds up fast. Topkey's mileage tool makes it super simple... put in the address, it figures out the roundtrip, and it's done. No more spreadsheets, no more missed reimbursements."
Save, Then Submit
Save creates a draft. It doesn't send anything. Open the draft's actions and choose Submit, or Submit for Approval if your company uses approvals. Until you do, nobody sees it.
The Employee Checklist
- Add your bank account once.
- Add each expense with its receipt.
- Log mileage with your start and end points.
- Open each draft and submit it.
Approving and Paying Expenses
Review and Pay
Go to Spend → Review Expenses and approve the expenses waiting on you.
To pay by hand, select the approved expenses, click Pay and follow the payment steps. With AutoPay on, approved expenses go out once a day instead.
Each expense is paid as its own ACH payment. It's marked reimbursed once the payment completes.
How It Reaches Your Books
Reimbursements sync to QuickBooks Online, Xero and NetSuite as an expense payment. If an owner should cover the cost, create a bill from the expense.
Five Rules for Every Reimbursement Setup
1. Get Everyone Set Up Before the First Expense
Why it matters. The Cardholder role can't see My Expenses, and an employee without a bank account can't be paid back by ACH.
Do this. Open Reports → Reimbursement Setup. Check each person's role and whether they've added a bank account, and fix any gaps before they need to submit.
2. Ask for Receipts Above an Amount
Why it matters. A receipt is easiest to get the day the money is spent, not after the expense is paid.
Do this. In Expense Submission Rules, turn on Ask for receipt if expense is more than and set the amount. Choose Block request if a receipt is a must, or Allow request with warning if you'd rather flag it.
3. Let Small Expenses Through
Why it matters. An approver shouldn't have to sign off on a $3 parking meter.
Do this. Start your first expense approval rule at $5. Anything under it matches no rule and is approved right away. This only works without an overflow rule on the Expenses tab, so decide which matters more, small expenses that move fast or a sign-off on every expense.
4. Set One Mileage Rate for Everyone
Why it matters. Topkey multiplies the driving miles by your rate, so one rate means every trip is paid the same way.
Do this. Enter your Rate per mile under Mileage Configuration. There's no preset rate, so use the one your company pays.
5. Turn On AutoPay After Your Approvals Are Set
Why it matters. With AutoPay on, every approved expense goes out once a day. Your approval rules are what stand in front of it.
Do this. Build your approval rules first, and add an overflow rule if every expense should get a sign-off. Then choose the Default account to issue reimbursements from and turn on Auto-pay approved expenses every day.
Spot Your Next Reimbursement Fix
A few signs tell you which setting to change next.
- Expenses showing up without receipts? Turn on the receipt rule and choose Block request.
- Drafts sitting for days? Remind your team that Save doesn't send anything. They still need to Submit.
- Approvers signing off on tiny amounts? Raise the amount your first approval rule starts at.
- Someone can't find My Expenses? Check their role in Reports → Reimbursement Setup.
Keep Your Reimbursements Working
- When someone joins, give them the Employee role and ask them to add a bank account first.
- When your mileage rate changes, update Rate per mile the same day.
- Once a month, open Reports → Reimbursement Setup and look for anyone without a bank account.
- When an approver leaves or changes roles, update the Expenses tab in Approval Workflows, including the overflow rule.
What Getting Paid Back Looks Like Now
The cleaner who ran short on paper towels drops a photo of the receipt into My Expenses from her phone, checks the details Topkey filled in and submits it before she leaves the driveway. The manager who drove to three homes logs the trip as mileage with a starting location, a destination and Roundtrip checked. Topkey works out the miles and multiplies them by your rate.
Both show up in Review Expenses with the receipt and the miles attached, and the approver signs off in a few clicks. AutoPay sends each one by ACH within a day, and each is marked reimbursed once its payment completes. The payments reach QuickBooks Online, Xero or NetSuite as expense payments. If the leak was the owner's to cover, the office creates a bill from the expense.
Nobody writes a check at the end of the month, and nobody has to hope the numbers are right.
Reimbursements FAQ
Yes. My Expenses works in any phone's browser. There's no app to install.
Yes, as long as the Expenses tab has no overflow rule. Start your first approval rule at $5, and smaller amounts skip approval. With an overflow rule, they go to its approvers.
With AutoPay, approved expenses are sent once a day by ACH. Bank timing varies.
Yes. Create a bill from the expense.
Yes. Change their role to Employee. Their card, their transaction texts and coding their own charges all stay the same.
No. There's no preset rate. Enter the rate your company pays under Mileage Configuration.
That's up to you. With the receipt rule on, Block request stops the expense and Allow request with warning lets it through with a flag.
Everyone Paid Back, the Same Way
Out-of-pocket spend doesn't have to live in a text thread. If you use Topkey, open Spend → My Expenses and add your first expense today. If you don't yet, see how Topkey handles reimbursements.